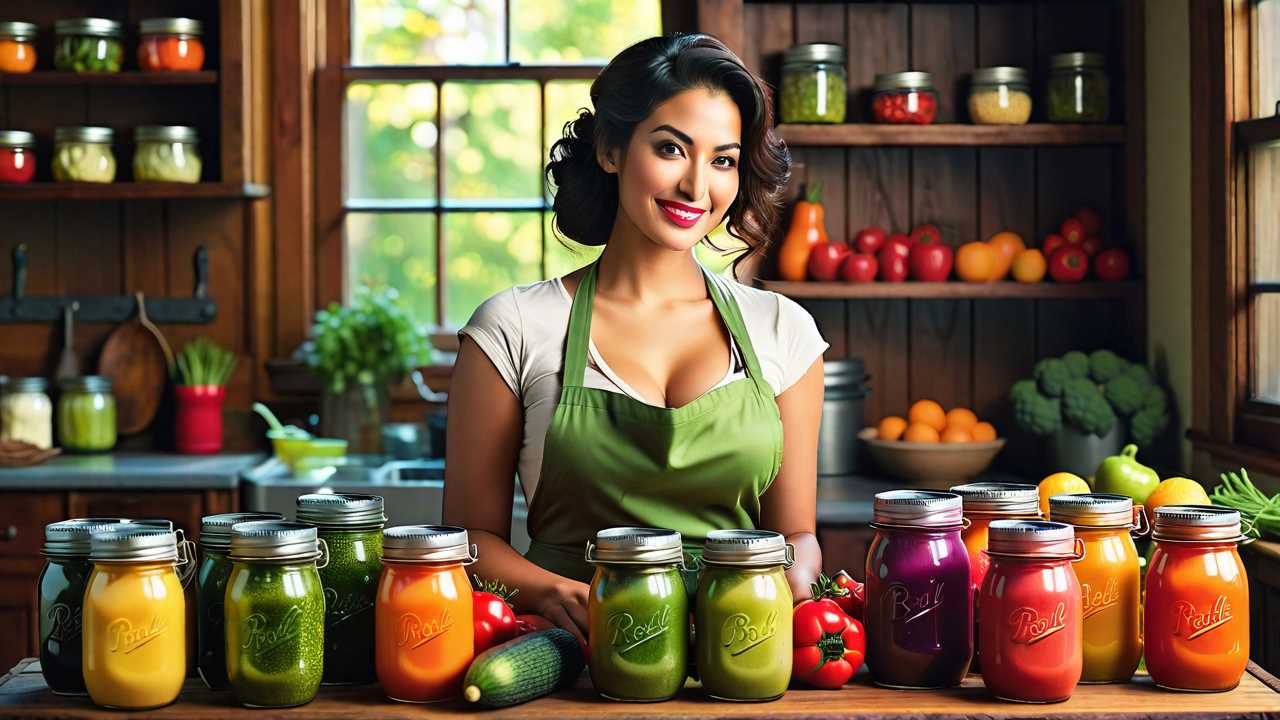
As you stand in your kitchen, surrounded by the aroma of ripe fruits and vegetables, you contemplate the art of canning and preserving. The process seems intricate yet rewarding, with the promise of savoring your favorite seasonal delights year-round. But where do you begin? How do you guarantee your pantry shelves are lined with jars of homemade goodness, ready to be enjoyed at a moment's notice? Let's investigate the secrets to successful home food preservation and reveal the flavors of each season in a way that is both satisfying and sustainable.
Essential Equipment for Canning
To successfully engage in home canning, you must procure essential equipment that includes a water bath canner, canning jars, lids, and a jar lifter.
The water bath canner is a large pot with a rack inside to hold jars and guarantee they aren't in direct contact with the bottom of the pot. This is vital for processing high-acid foods like fruits, pickles, and tomatoes.
Canning jars, typically made of glass, come in various sizes and are designed to withstand the high temperatures involved in the canning process.
Lids are essential for creating a proper seal on the jars to prevent contamination and spoilage of the preserved food.
Lastly, a jar lifter is a handy tool used to safely remove hot jars from the canner without risking burns or spills.
Having these essential tools ready before you start canning will make the process smoother and more efficient. Remember, proper equipment ensures the safety and quality of your home-canned goods.
Step-by-Step Canning Process
Prepare for the step-by-step canning process by ensuring you have all the necessary equipment assembled and ready for use. You'll need canning jars, lids, bands, a canner, jar lifter, lid wand, funnel, and a clean cloth.
- Preparation:
Wash the jars, lids, and bands in hot, soapy water. Inspect for any cracks or chips. Place the jars in the canner filled with water and bring to a simmer. Keep the lids in a small saucepan of hot water to soften the sealing compound.
- Filling the Jars:
Using a funnel, carefully fill the jars with the prepared food, leaving the recommended headspace. Remove air bubbles by running a non-metallic utensil along the inside of the jar.
- Sealing:
Wipe the jar rims with a clean, damp cloth to remove any food particles. Center a lid on the jar and twist on a band just until fingertip tight.
- Processing:
Place the filled jars in the canner, ensuring they're covered with at least 1-2 inches of water. Process according to the recipe guidelines.
- Cooling:
After processing, allow the jars to cool undisturbed for 12-24 hours. Check the seals, and store in a cool, dark place.
Safe Canning Practices
Maintain proper hygiene by thoroughly cleaning all equipment and work surfaces before beginning the canning process to minimize the risk of contamination. Start by washing your hands with soap and water, and make certain that all jars, lids, and utensils are clean and sanitized.
When preparing the food for canning, use fresh ingredients and trim off any bruised or damaged parts. Follow tested recipes from reliable sources to guarantee safe acidity levels for canning low-acid foods like vegetables and meats.
Always use the appropriate canning method based on the type of food being preserved - either water bath canning for high-acid foods like fruits or pressure canning for low-acid foods. Be sure to adjust processing times based on your altitude to guarantee proper sterilization.
After processing, let the jars cool naturally, avoiding quick temperature changes that could lead to seal failure. Finally, store your canned goods in a cool, dark place and check for signs of spoilage before consumption.
Exciting Recipe Ideas for Preservation
Exploring innovative preservation techniques can enrich your home canning experience, offering a diverse array of recipe ideas to elevate your pantry with delicious and long-lasting foods.
One exciting recipe idea is pickled watermelon rinds, which blend sweet and tangy flavors. To create this treat, peel and slice watermelon rinds, then soak them in a brine of vinegar, sugar, and spices before processing in a water bath canner.
Another unique option is canned spiced peaches, where ripe peaches are infused with cinnamon, cloves, and allspice for a warm, comforting flavor.
For a savory twist, consider canning salsa using fresh tomatoes, peppers, onions, and cilantro. This zesty condiment can be preserved using a pressure canner for optimal safety.
Frequently Asked Questions
How Long Can Canned Food Be Stored Before It Expires?
Canned food can be stored for varying lengths depending on the type of food. Generally, most canned goods retain quality for 1-2 years. Always check for signs of spoilage like bulging lids or off smells before consuming.
Can I Reuse Canning Lids and Bands?
Sure, reusing canning lids and bands isn't recommended as they may not seal properly, potentially leading to spoilage or contamination. For safety and quality, always use new lids and bands for canning.
Can I Can Food Without Using a Pressure Canner?
You can safely can high-acid foods like fruits, pickles, and tomatoes using a boiling water canner. However, low-acid foods such as vegetables and meats require a pressure canner for safe preservation due to bacteria concerns.
Are There Any Alternative Methods for Preserving Food?
Seeking to preserve food without a pressure canner? Yes, alternative methods exist, such as water bath canning, freezing, pickling, fermenting, dehydrating, and using vinegar or sugar solutions. Discover these options for safe and delicious preservation.
What Are the Best Practices for Storing Canned Goods?
When storing canned goods, place them in a cool, dry, dark area. Make sure lids are sealed and undamaged. Rotate older cans to the front for use first. Check for spoilage signs like bulging, leaks, or off smells.
 SportsHollywoodLifestyleFashionHome & GardenTrendsPrivacy PolicyTerms And Conditions
