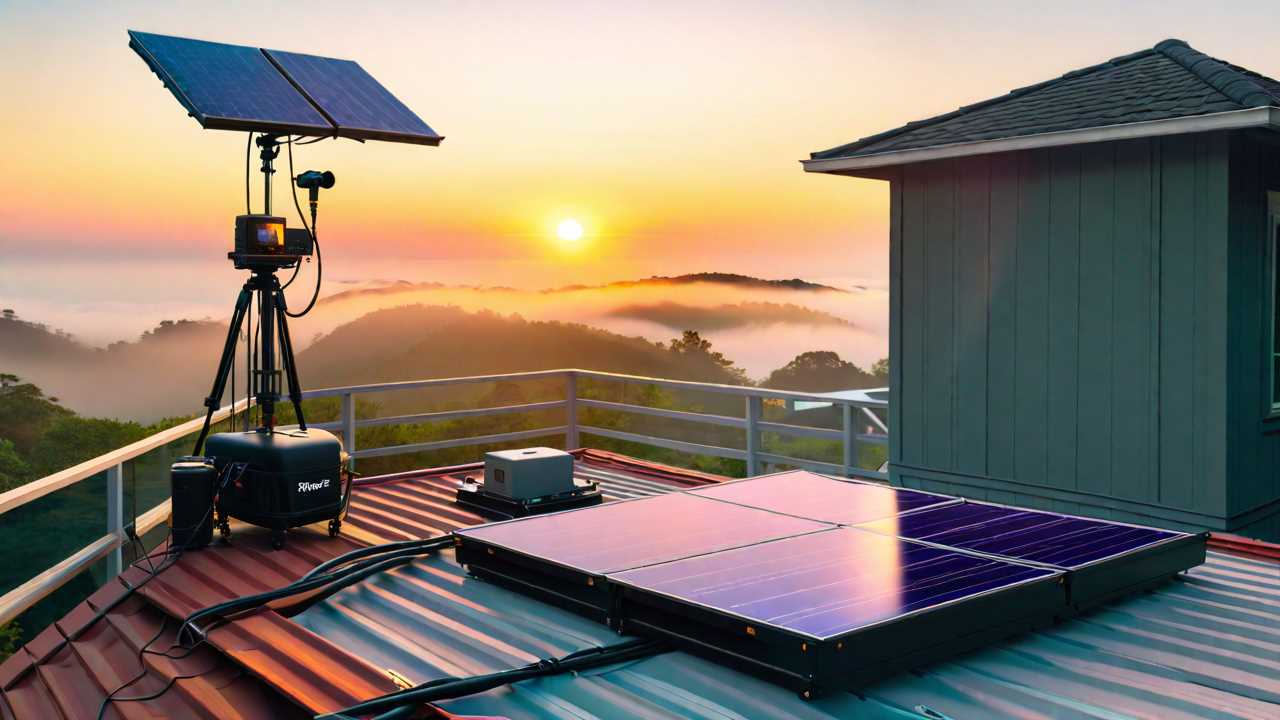
When contemplating starting the journey of creating a DIY solar energy system, an essential starting point involves thorough planning and understanding of your energy requirements. Ensuring top efficiency and output hinges on selecting the right components and positioning them strategically. As you ponder the intricacies of solar panel selection and system design, keep in mind that attention to detail at every stage is key. Stay tuned to discover valuable insights on maneuvering the installation process and ensuring the long-term success of your solar endeavor.
Solar Panel Selection
When selecting solar panels for your DIY solar energy system, consider the efficiency ratings and wattage output to ensure peak performance. Efficiency ratings indicate how well a solar panel can convert sunlight into electricity, with higher percentages meaning more energy production. Look for panels with efficiency ratings above 15% for best results.
Wattage output, on the other hand, determines the amount of power the solar panel can generate. Panels with higher wattage outputs will produce more electricity, making them suitable for systems that require greater energy production.
Moreover, pay attention to the type of solar cells used in the panels. Monocrystalline cells are known for their high efficiency rates and sleek appearance, making them a popular choice for residential installations. Polycrystalline cells, although slightly less efficient, are more cost-effective and perform well under high temperatures.
System Design and Sizing
How do you determine the most appropriate design and size for your DIY solar energy system?
The design and sizing of your solar energy system are important steps in ensuring peak performance and efficiency. To start, consider your energy needs and goals. Calculate your average daily energy consumption in kilowatt-hours (kWh) to determine the size of the system required. Factors such as roof space, available sunlight, and local weather patterns also play a significant role in the design process.
Next, assess the orientation and tilt angle of your solar panels to maximize sunlight exposure. South-facing roofs with a tilt angle equal to your latitude generally yield the best results. Additionally, shading analysis tools can help identify potential obstructions that may affect solar panel efficiency.
When designing your system, take into account the type and efficiency of solar panels, inverters, batteries (if using an off-grid system), and mounting hardware. Properly sizing each component ensures that your DIY solar energy system operates effectively and meets your energy needs.
Component Installation Process
To kick off the component installation process for your DIY solar energy system, first make sure you have gathered all the necessary equipment and tools as outlined in your system design plan.
Begin by mounting the solar panels on a stable structure, ensuring they're securely fixed in place. Connect the panels in series or parallel as per your system design to achieve the desired voltage and current output.
Next, install the charge controller to regulate the power flow from the panels to the batteries, preventing overcharging. Place the batteries in a cool and ventilated location, connecting them to the charge controller using appropriate cables.
Then, set up the inverter to convert the direct current (DC) stored in the batteries into alternating current (AC) for household use.
Monitoring and Maintenance
Regularly inspecting and monitoring the performance of each component in your DIY solar energy system is essential to guarantee peak efficiency and longevity. Begin by routinely checking the solar panels for any signs of dirt, debris, or shading that may obstruct sunlight absorption. Clean the panels with a soft brush and mild detergent to maintain top performance.
Monitor the inverter regularly to make sure it's converting DC electricity from the panels to AC electricity for household use efficiently. Check the battery bank for any corrosion or leaks and maintain proper ventilation to prevent overheating.
Inspect the wiring connections for tightness and signs of wear that could lead to energy loss or safety hazards. Utilize monitoring software to track energy production and detect any abnormalities promptly.
Conduct regular performance tests to assess the overall functionality of your system and address any issues promptly to maximize energy output and system lifespan.
Frequently Asked Questions
Can I Connect My DIY Solar System to the Grid?
You can connect your DIY solar system to the grid by installing a grid-tie inverter. This device converts the DC power generated by your solar panels into AC power that can be fed back into the grid.
What Permits and Regulations Do I Need for Installation?
Before diving into installation, make sure you obtain necessary permits and follow regulations. Check your local building codes, utility requirements, and grid interconnection rules. This ensures a smooth and compliant DIY solar system setup process.
Is It Possible to Store Excess Energy in Batteries?
Yes, it is possible to store excess energy from your DIY solar system in batteries. This guarantees that you have power available when sunlight is limited or during outages. Properly sized batteries are key for efficient energy storage.
How Do I Protect My Solar Panels From Weather Damage?
To shield your solar panels from weather damage, you must fortify them like a fortress! Guarantee sturdy mounting, use tempered glass, apply weather-resistant coatings, and regularly inspect for any signs of wear. Guard your panels with vigilance!
Can I Expand My DIY Solar System in the Future?
You can expand your DIY solar system in the future by adding more solar panels and increasing your battery storage capacity. Double-check that your system can handle the additional load and consult with a professional if needed.
 SportsHollywoodLifestyleFashionHome & GardenTrendsPrivacy PolicyTerms And Conditions
