If you've ever dreamed of transforming your home into a flourishing microgreens farm, the journey is simpler than you might think. Starting with the selection of the right seeds is essential, but there's more to it than just that. From creating the perfect growing environment to mastering the art of caring for your delicate greens, each step plays an important role in your success. So, are you ready to take the first step towards cultivating your own vibrant microgreens oasis?
Selecting the Right Seeds
When starting a microgreens farm at home, make sure you select the right seeds by considering factors such as variety, quality, and suitability for indoor cultivation. Opt for seeds specifically labeled for microgreens as they're bred for their tender, flavorful leaves. Popular choices include broccoli, radish, sunflower, and pea shoots. Guarantee the seeds are high-quality, organic, and free from any chemicals or pesticides, as these can affect the taste and safety of your microgreens.
Choose seeds that are suitable for indoor cultivation, as not all varieties thrive in indoor environments. Look for seeds that are known for their quick germination and ability to grow well in containers or trays. Consider the space you have available and select seeds that match your setup.
Additionally, check the seed's shelf life, as some seeds lose viability over time and may not germinate as effectively. By carefully selecting the right seeds, you set a solid foundation for your microgreens farm's success.
Setting Up the Growing Space
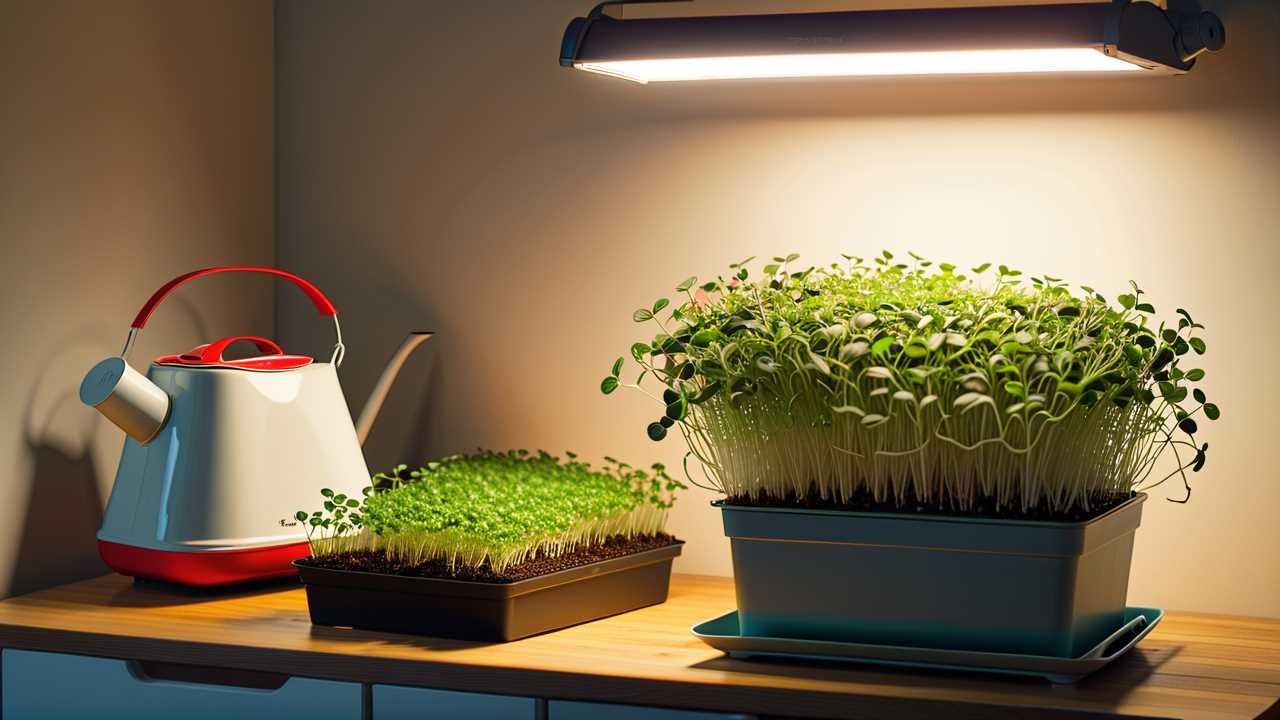
To establish the growing space for your microgreens farm, there are several key steps to consider. Evaluate your available area to ensure it receives ample natural light and has good air circulation. If natural light is insufficient, choose a spot near a window or invest in grow lights. It's crucial to confirm that the area is well-ventilated to prevent the buildup of humidity, which can lead to mold growth. Consider using a fan to enhance air circulation if necessary.
Next, select a suitable growing container for your microgreens. Options include trays, shallow pots, or specialized microgreens trays. Ensure the containers have drainage holes to avoid waterlogging, which can cause root rot. Before planting, clean the containers thoroughly to minimize the risk of contamination.
If space is limited, set up a shelving system for your microgreens farm. Make sure each shelf receives adequate light for optimal growth. Arrange the containers in a way that allows easy access for watering and monitoring the growth of your microgreens. Consider using a waterproof mat or tray to catch any excess water that drains from the containers.
Planting and Caring for Microgreens
Secure your chosen growing medium and select your microgreen seeds based on your preferences and desired harvest time. Fill a shallow tray with the growing medium, leaving about an inch of space at the top. Moisten the medium evenly without creating waterlogged conditions. Sprinkle the seeds densely over the surface, making sure they aren't overcrowded. Gently press the seeds into the soil and cover them lightly with a thin layer of the medium.
Place the tray in a well-lit area, out of direct sunlight. Guarantee the seeds receive adequate ventilation to prevent mold growth. Mist the seeds regularly to keep the medium moist but not soggy. Monitor the moisture levels closely to avoid drying out or overwatering.
As the microgreens begin to sprout, continue to provide them with sufficient light and moisture. Rotate the tray occasionally to promote even growth. Once the microgreens have reached your desired height, they're ready for harvest.
Harvesting and Enjoying Your Greens
Guarantee that your microgreens are harvested at the ideal stage to enjoy their peak flavor and nutritional content. The best time to harvest your microgreens is when they've developed their first true leaves, typically around 7-14 days after planting, depending on the variety.
To harvest, grab a pair of clean scissors and snip the greens right above the soil level. Avoid pulling them out, as this can disturb the roots of neighboring plants.
Once harvested, it's time to savor the fresh flavors of your home-grown microgreens. Add them to salads, sandwiches, wraps, or use them as a colorful garnish on soups or appetizers. The possibilities are endless!
Remember to wash your microgreens thoroughly before consuming them to remove any dirt or debris. Store any leftovers in a sealed container with a paper towel to absorb excess moisture, keeping them fresh for longer.
Enjoy the crisp texture and vibrant taste of your homegrown microgreens in every bite.
Frequently Asked Questions
Can I Use Tap Water to Water My Microgreens?
Using tap water for microgreens is common, but be cautious. Tap water may contain chlorine or other chemicals harmful to plants. Consider using filtered water or letting tap water sit out for 24 hours to dechlorinate before watering.
Do Microgreens Attract Pests or Insects?
Microgreens can attract pests like aphids, spider mites, and fungus gnats. Regularly inspect your plants for signs of infestation. Use organic pest control methods like neem oil or insecticidal soap to manage any issues effectively.
How Do I Know if My Microgreens Are Ready to Harvest?
When it's time to harvest microgreens, look for their true leaves to emerge, signaling maturity. Aim for a height of 1-3 inches. Snip just above the soil line for the freshest, most nutritious harvest.
Can I Compost Leftover Microgreen Roots?
Yes, you can compost leftover microgreen roots. They are rich in nutrients and will break down quickly in a compost pile. Chop them into smaller pieces to expedite decomposition and guarantee proper aeration.
How Can I Extend the Shelf Life of Harvested Microgreens?
To extend the shelf life of harvested microgreens, you can place them in an airtight container with a damp paper towel. Store in the fridge for best freshness. Just a simple trick to keep those greens vibrant and crisp for longer!
 SportsHollywoodLifestyleFashionHome & GardenTrendsPrivacy PolicyTerms And Conditions